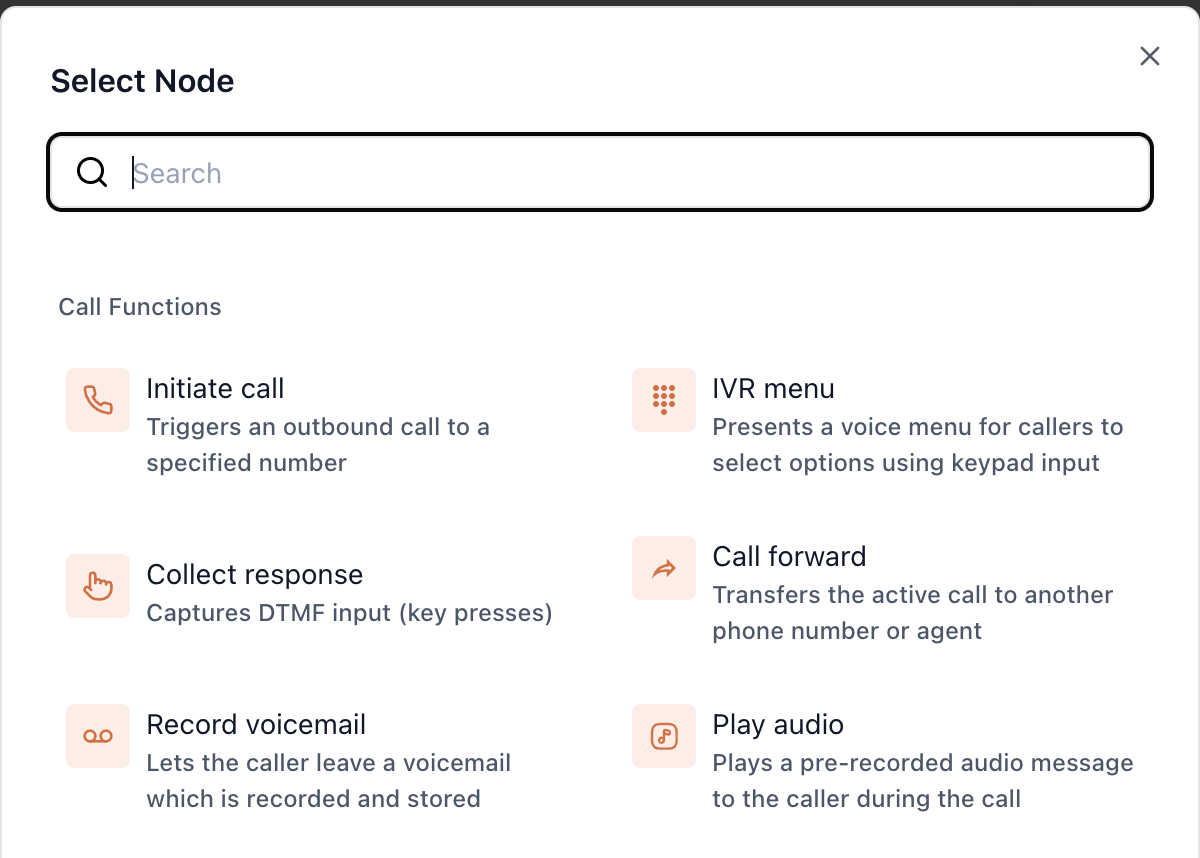
Call Function Nodes

1. Initiate Call Node
The Initiate Call Node triggers an outbound call to a specified number, initiating the interaction. Configuration Options:- Source and Destination Numbers: Specify the phone numbers using agent variables. You can dynamically set the source and destination numbers based on the conversation context.
- DTMF Input: Configure DTMF (Dual-Tone Multi-Frequency) digits if you need the caller to press keys during the call (e.g., for verifying information or navigating an IVR menu).
Set the next steps based on the call’s outcome:
- Call Answered: If the call is answered successfully.
- No Answer: If there is no response from the recipient.
- Call Was Busy or Rejected: If the call is busy or rejected by the recipient.
- Call Failed: If the call cannot be connected.
2. IVR Menu Node
The IVR Menu Node allows you to create a voice menu that the caller can navigate by pressing keys on their phone (DTMF input). Configuration Options:- Menu Options: Define a set of options (e.g., “Press 1 for Sales, Press 2 for Support”).
- No Input Handling: Set the next step if the caller does not respond within the given time frame.
- Wrong Input Handling: Set the next step if the caller enters an invalid input.
Configure the next step for either No Input or Wrong Input scenarios (e.g., prompt the caller again, transfer to an agent).
3. Collect Response Node
The Collect Response Node captures DTMF input from the user, allowing the agent to process user responses during the call. Configuration Options:- Timeout: Define how long the system should wait for input.
- Valid Inputs: Set acceptable input values (e.g., numeric values or specific keys).
- No Input Handling: Define the next step if no response is received.
Set the next step based on the input received:
- Successful Response: If the correct input is received.
- No Response: If no input is received within the specified time.
4. Call Forward Node
The Call Forward Node transfers the ongoing call to another phone number or agent. This is typically used for call routing or escalation to a human agent. Configuration Options:- Destination: Specify the phone number or agent to which the call will be forwarded.
Set actions based on the call outcome after forwarding:
- Call Answered: If the call is successfully answered.
- No Answer: If the forwarded call is not answered.
- Call Was Busy or Rejected: If the destination number is busy or the call is rejected.
- Call Failed: If the call transfer fails.
5. Hangup Node
The Hangup Node ends the current call session, terminating the interaction with the customer. Configuration Options:- This node does not require additional configuration, as it simply ends the call.
6. Play Audio Node
The Play Audio Node allows you to play a pre-recorded audio message or text-to-speech response during a call. Configuration Options:- Upload a File or URL: Upload an audio file or provide a URL to an existing audio file for playback.
- Text-to-Speech (TTS): Write a prompt to generate speech from text, allowing your agent to speak the message dynamically. You can customize the TTS voice and language settings.
Set the next steps after the audio is played:
- This could be moving to the next interaction step or waiting for input after the audio.
Use Cases
- Customer Support Flow:
- Use the IVR Menu Node to direct callers to different departments (e.g., Sales, Support, Billing).
- Use the Call Forward Node to escalate calls to a human agent if the automated flow doesn’t resolve the query.
- Appointment Scheduling:
- Use the Initiate Call Node to automatically call customers and offer appointment scheduling options via an IVR Menu.
- Use the Collect Response Node to capture the customer’s preferred appointment time.
- Order Status Check:
- Use TTS to read out the order status after the customer inputs their order number via the Collect Response Node.
- Use the Hangup Node to end the call once the status has been delivered.
Best Practices
- Test the IVR menu thoroughly: Ensure that each DTMF input path is correctly mapped to the appropriate next step.
- Use TTS for dynamic responses: For an interactive and engaging user experience, leverage TTS to read out dynamic responses instead of static audio.
- Optimize for clarity: Keep IVR menus concise and easy to navigate. Too many options can confuse users.