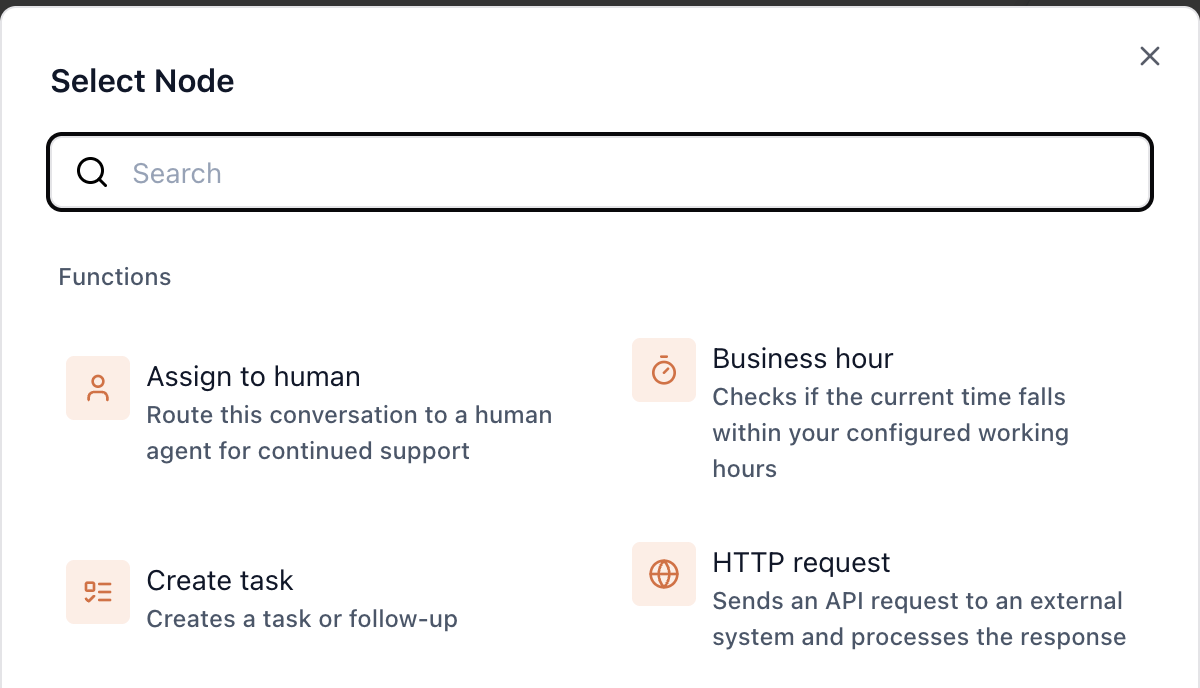
1. Assign to Human Node
The Assign to Human Node routes the conversation to a human specialist for manual intervention. You can assign the conversation to a specific agent or a team, based on predefined criteria. Configuration Steps:- Select the Queue: Choose a queue where the conversation will wait until a human agent is available.
- Advanced Settings:
- Routing Strategy: Choose from multiple routing strategies:
- Highest Idle Time: Routes to the agent who has been idle for the longest.
- Simultaneous Conversations: Routes based on how many conversations the agent can handle simultaneously.
- Lowest Conversations Handled: Routes to the agent with the least number of handled conversations.
- Lowest Conversation Handle Time: Routes to the agent with the lowest handling time.
- Simultaneous Conversation Recipients: Specify how many agents can handle the conversation at the same time.
- Conversation Assignment Retry: Set the retry count for unsuccessful assignments.
- Sticky Routing: Enable sticky routing to route the conversation to the same agent.
- Sticky Routing Expiry: Set an expiry time for sticky routing.
- Routing Strategy: Choose from multiple routing strategies:
- Conversation Completed
- Enqueue Failed
- Timeout
- Assignment Failed
2. Business Hour Node
The Business Hour Node checks if the current time is within your configured working hours and routes conversations accordingly. Configuration Steps:- Select Business Hours: Choose from your pre-configured business hours to determine whether the conversation happens during business hours.
- During Business Hours: If the conversation occurs within business hours.
- Outside Business Hours: If the conversation occurs outside business hours.
3. Create Task Node
The Create Task Node creates a follow-up task within Plivo’s platform for further action or tracking. Configuration Steps:- Task Type: Choose the type of task (e.g., follow-up, support, sales).
- Channel: Specify the communication channel for the task.
- Description: Provide a brief description of the task.
- Priority: Set the task’s priority (e.g., high, medium, low).
- Due Date: Specify the due date for completing the task.
- Success: Task creation was successful.
- Failure: Task creation failed due to an error.
4. HTTP Request Node
The HTTP Request Node allows you to send API requests to external services and process the response. Configuration Steps:- API URL and Method: Define the endpoint URL and HTTP method (GET, POST, etc.).
- Authentication: Choose the authentication type (None, Basic Auth, or Bearer Token).
- Timeout and Retries: Set a timeout period and retry attempts for the request.
- Parameters: Define the key-value pairs for parameters, headers, and body of the request.
- Success: Proceed if the request is successful.
- Failure: Proceed if the request fails.