Deploying a Chat Agent
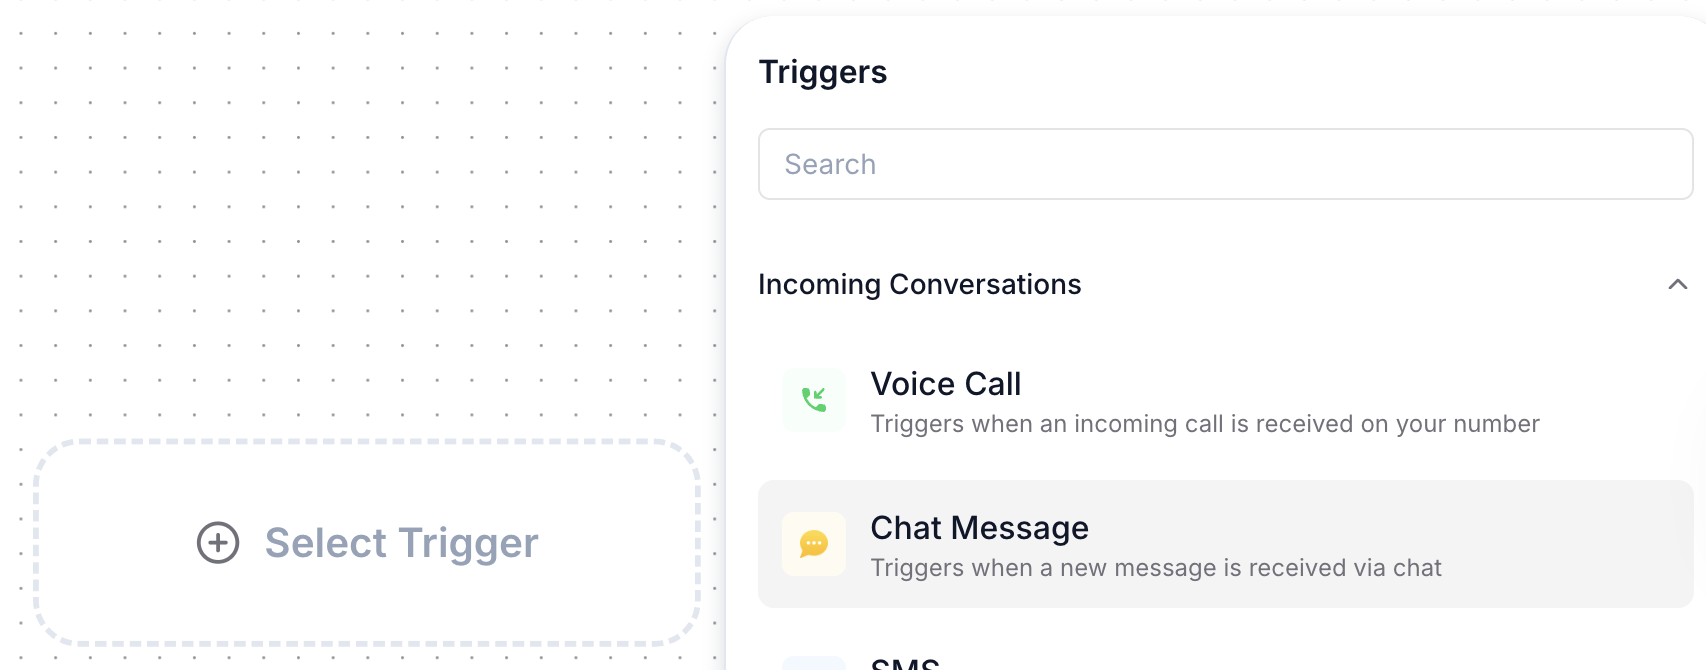
In this guide, we’ll walk you through deploying an AI Chat Agent to handle inbound conversations on a chat application or chat widget. The Chat Agent will engage with customers by responding to messages received via chat widget. To deploy a Chat Agent that responds to incoming chat messages:Step 1: Set up the Trigger for Inbound Chat Messages

Step 2: Build and Test Your Agent Flow
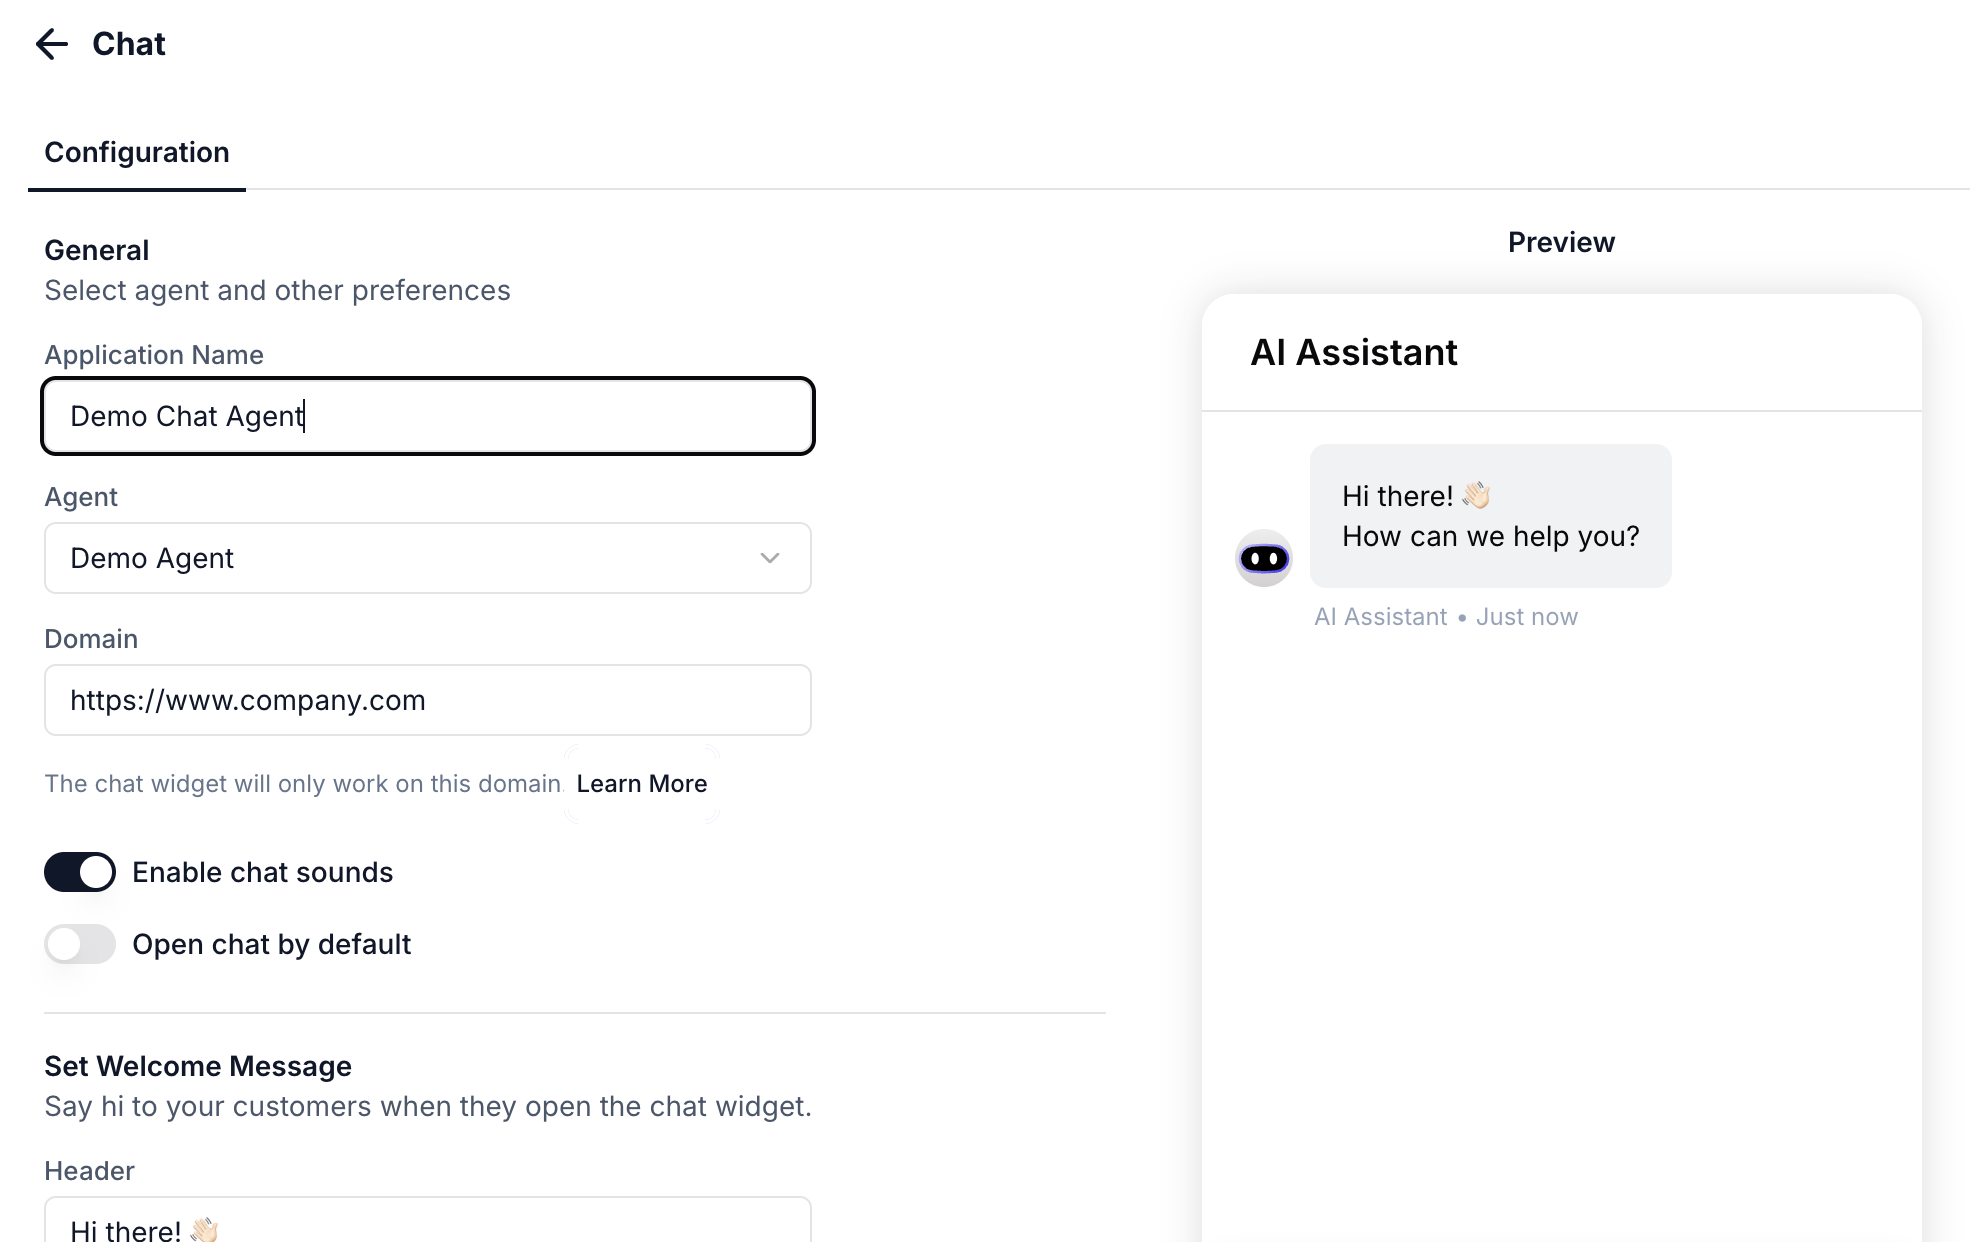
Design the agent flow to handle different customer queries and scenarios, such as responding to questions or providing customer support. Add common questions as Quick Response Questions to help customers get started. Once you’ve built the flow, test it to ensure it performs as expected.Step 3: Configure Chat Application

- Go to Settings > Chat.
- From the Chat page, you can create a new Chat Application by clicking on Create Application.
Step 4: Select the Agent for Your Chat Application
- Once the application is created, select the agent flow you’ve created for handling inbound chat messages.
- Configure additional settings such as the type of chat (Webchat, In-app Chat) depending on the application’s requirements.
Step 5: Finalize and Deploy
Once the chat application is set up and the agent is linked, your Chat Agent will be ready to handle inbound customer messages through the selected chat platform.Chat Agents handle only inbound conversations and cannot initiate messages.