Overview
Zentrunk, Plivo’s SIP trunking service, lets you connect with fixed and mobile phones in more than 200 countries. This page provides basic configuration information to get 3CX up and running with Plivo as the external SIP gateway. To get started with Zentrunk using 3CX:- Install 3CX.
- Create a trunk using the Plivo console.
- Configure an outbound trunk.
- Configure an inbound trunk.
Configuring an outbound trunk
Configuring your outbound trunk involves these steps:- Adding an extension.
- Adding a trunk.
- Adding outbound rules.
- Configuring your softphone.
To add an extension
- From the Extension, click Add.
- On the Extensions page, in the General tab, enter these details:
- Extension — name of the extension
- First Name and Last Name are optional
- Outbound Caller ID — Caller ID for calls placed out on this trunk

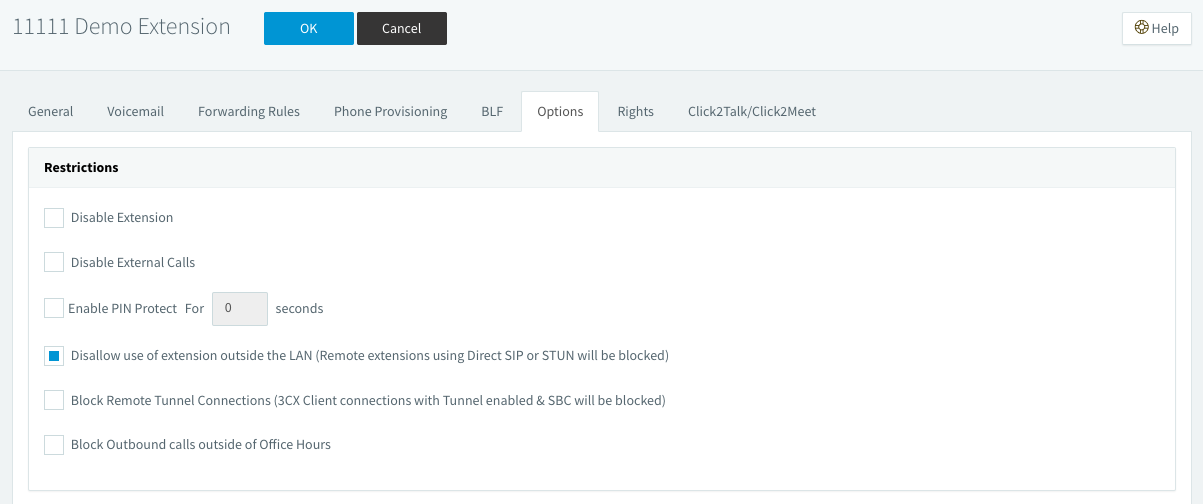
- On the Extensions page, in the Options tab, uncheck the option Disallow use of extension outside the LAN (Remote extensions using Direct SIP or STUN will be blocked), then click OK.
To add a trunk
- From your 3CX dashboard, click on SIP Trunks.
- On the SIP Trunks page, click Add SIP Trunk.
- On the Add SIP Trunk/VoIP Provider page:
- Set Select Country to Generic
- Set Select Provider in your Country to Generic SIP Trunk
- Enter a trunk number in the Main Trunk No field.
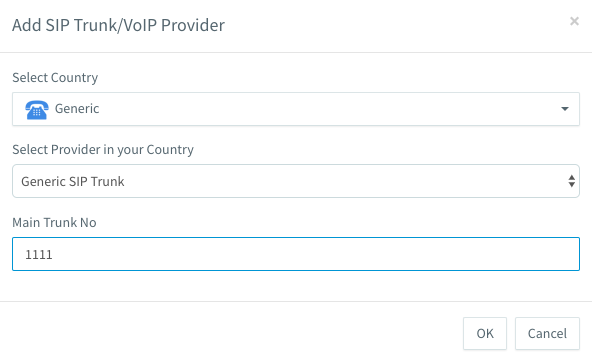
- Click OK.
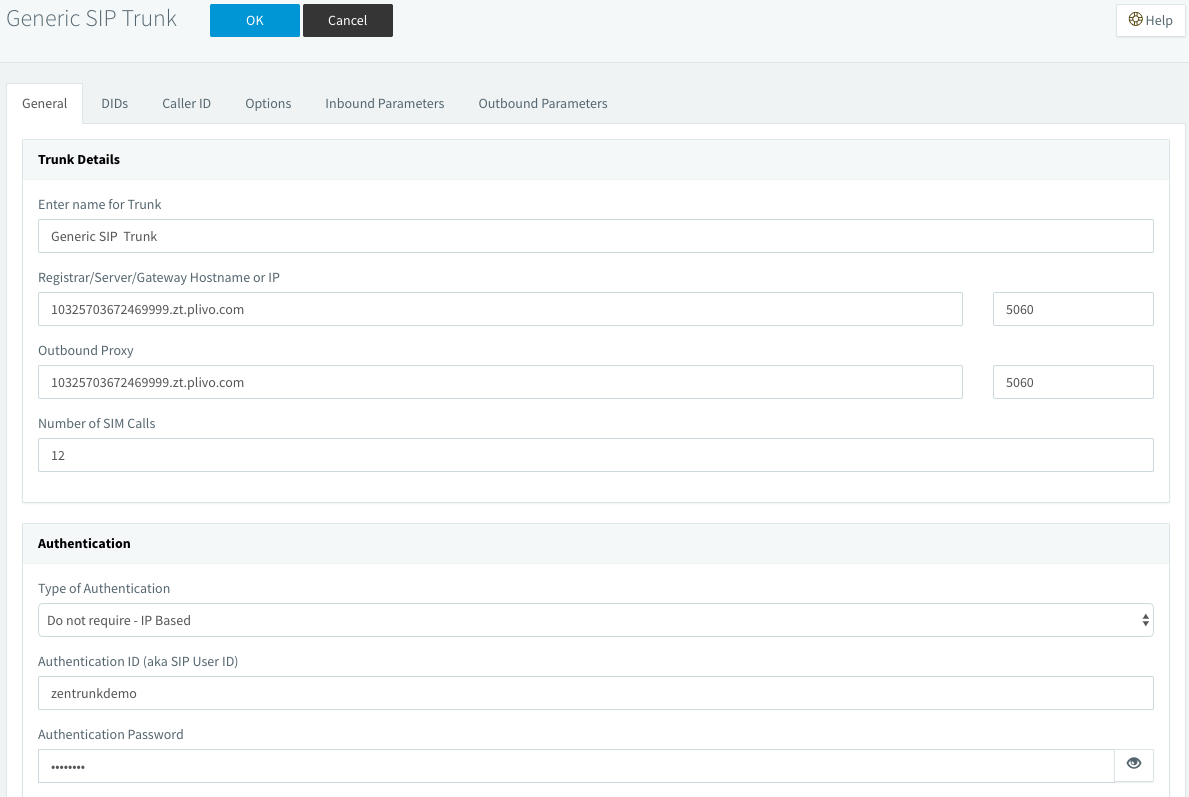
- Next, enter the Trunk Details fields.
- Name of Trunk: A friendly name for the trunk
- Registrar/Server/Gateway Hostname or IP: Trunk domain from the Plivo console
- Outbound Proxy: The same trunk domain as Registrar/Server/Gateway Hostname or IP field
- Authentication ID (aka SIP User ID): User name associated with the trunk (if the trunk is auth based)
- Authentication Password: Password associated with the trunk (if the trunk is auth based)
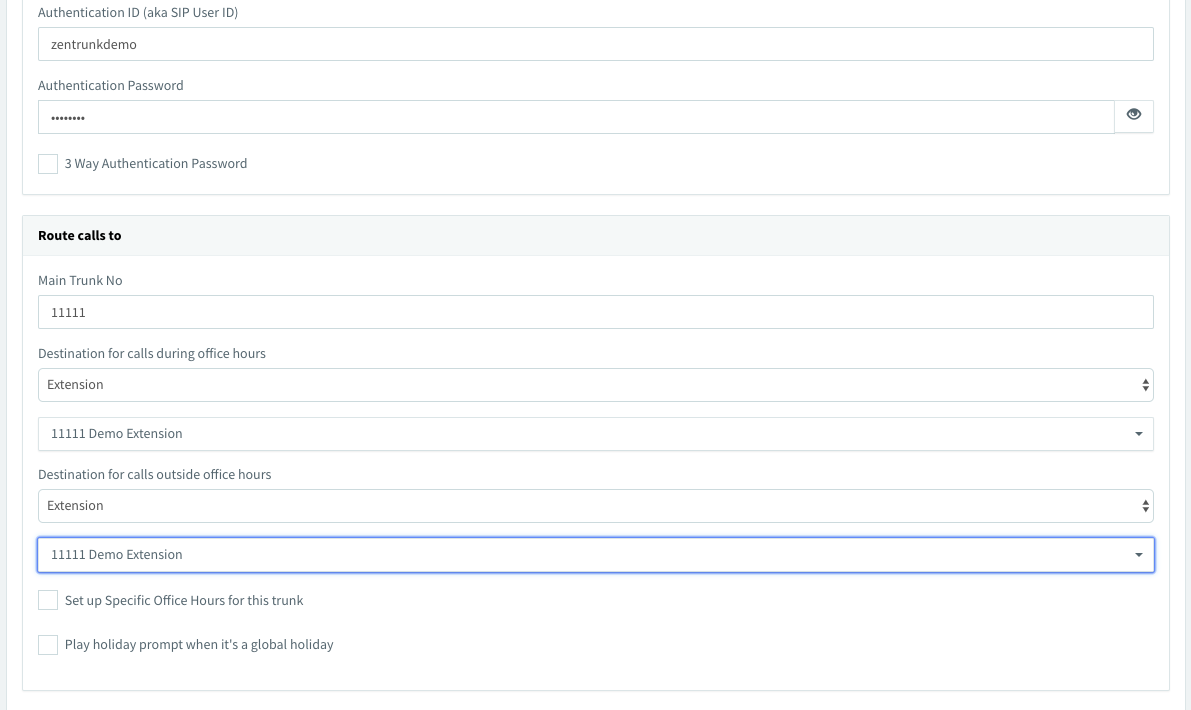
- In the Route calls to section, under Destination for calls outside office hours, select the extension you created in the previous step for Destination for calls during office hours and Destination for calls outside office hours
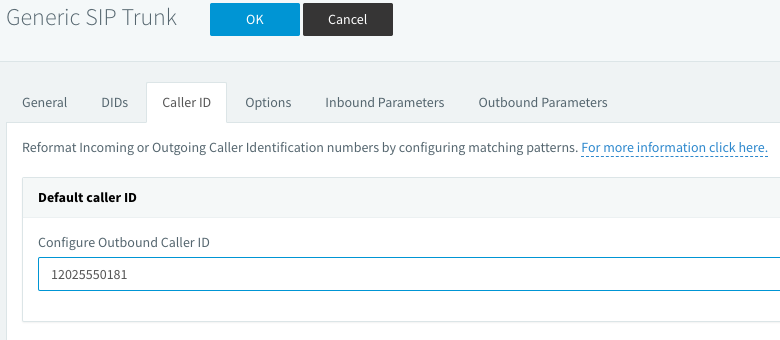
- Next, on the Caller ID tab, enter the Configure Outbound Caller ID, and then click OK.
To add an outbound rule
- From your 3CX dashboard, click on Outbound Rules.
- On the outbound rules page, click on Add to add the outbound rules.
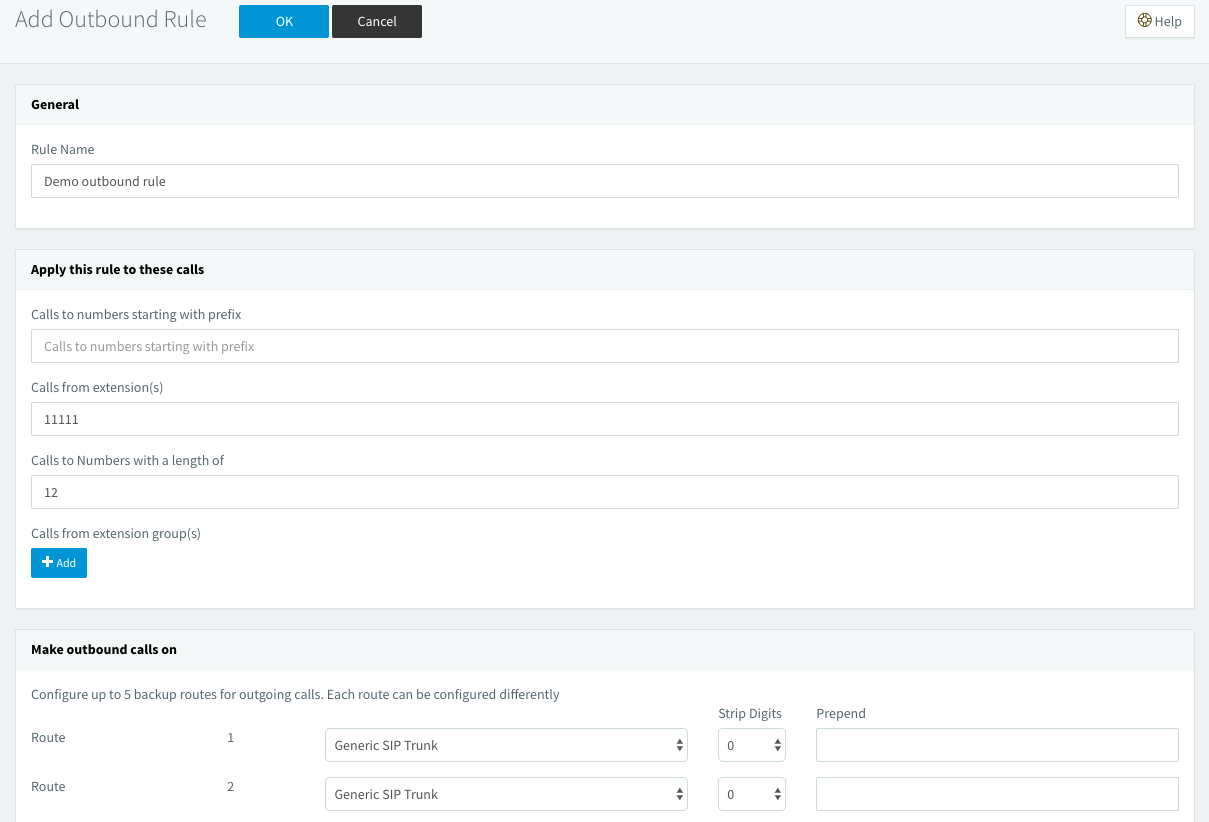
- On the Add Outbound Rule page, fill these details:
- Rule name: a name for the outbound rule
- Calls to numbers starting with the prefix: Specify the prefix to which outbound calls are allowed (optional — leave blank if calls to all numbers need to be allowed)
- Calls from extension(s): Mention the extension(s) from which calls needs to be allowed
- Calls to Numbers with a length of: Length of the number to which calls needs to be allowed (for example, 12)
- Select the trunk for the routes in the Make outbound calls on section.
Configuring an inbound trunk
Configuring your inbound Trunk involves:- Adding an extension
- Adding a trunk
- Configuring your softphone
To add an extension
- From your 3CX dashboard, choose Extensions and click Add.
- On the Extensions page, in the General tab, enter:
- Extension — name of the extension
- First Name and Last Name are optional
- Outbound Caller ID — caller ID for calls placed out on this trunk. Note: Note the authentication details, as they will be useful when you configure your softphone.
- On the Extensions page, in the Options tab, uncheck the Disallow use of extension outside the LAN (Remote extensions using Direct SIP or STUN will be blocked) option, and then click OK.
To add a trunk
- From your 3CX dashboard, click on SIP Trunks.
- On the SIP Trunks page, click Add SIP Trunk.
-
On the Add SIP Trunk/VoIP Provider page:
- Set Select Country to Generic.
- Set Select Provider in your Country to Generic SIP Trunk.
- Enter the inbound number on which you wish to receive calls in the Main Trunk No field.
- Click OK.
-
On the General page, enter the Trunk Details:
- Name of Trunk: a friendly name for the trunk
- Registrar/Server/Gateway Hostname or IP: (0.0.0.0 to receive calls from all IP addresses)
- Outbound Proxy: Trunk domain same as Registrar/Server/Gateway Hostname or IP Authentication.
- Authentication ID (aka SIP User ID): User name associated with the trunk if the trunk is auth based.
- Authentication Password: Password associated with the trunk if the trunk is auth based.
-
In the Route calls to section, under Destination for calls outside office hours, select the extension you created in the previous step for Destination for calls during office hours and Destination for calls outside office hours.