1
Define the Use Case
Before building your agent, clearly define the use case and understand the types of inquiries customers will have when they interact with your website’s chat widget.
- Pricing: Customers want to know pricing information for your services or products.
- Technical support: Customers are experiencing issues and need troubleshooting assistance.
- Lead inquiries: Potential customers are interested in learning more about your offerings.
- Collaboration inquiries: Prospective partners may reach out to discuss potential collaborations.
- General knowledge: Questions about the company, services, or policies that require referring to the knowledge base (e.g., refund policies, delivery timelines).
2
Prepare a Mental Framework for the Agent’s Tasks
Create a mental framework of tasks that your agent needs to handle. This will help you ensure that every possible customer query is addressed. Tasks for your Chat Widget AI agent might include:
- Start the conversation in a friendly manner.
- Understand what the customer is inquiring about.
- Refer the knowledge base to answer generic questions like “What is your refund policy?” or “How long does delivery take?”
- If the issue is unresolved or requires human intervention, create a support ticket.
- If the inquiry is from a potential customer, create a lead.
3
Define the Agent’s Tasks in Detail for Vibe Agent
Now, provide the detailed tasks for your agent:
- The trigger for this agent is when a customer sends a message on Chat widget on the website.
- Greet the customer.
- Ask what the customer needs help with
- If the question is general (e.g., pricing, policies), the agent should refer to the knowledge base for answers.
- For technical issues or inquiries that need escalation, the agent should create a Zendesk support ticket.
- If the customer is asking about services and it’s a potential sales opportunity, create a lead.
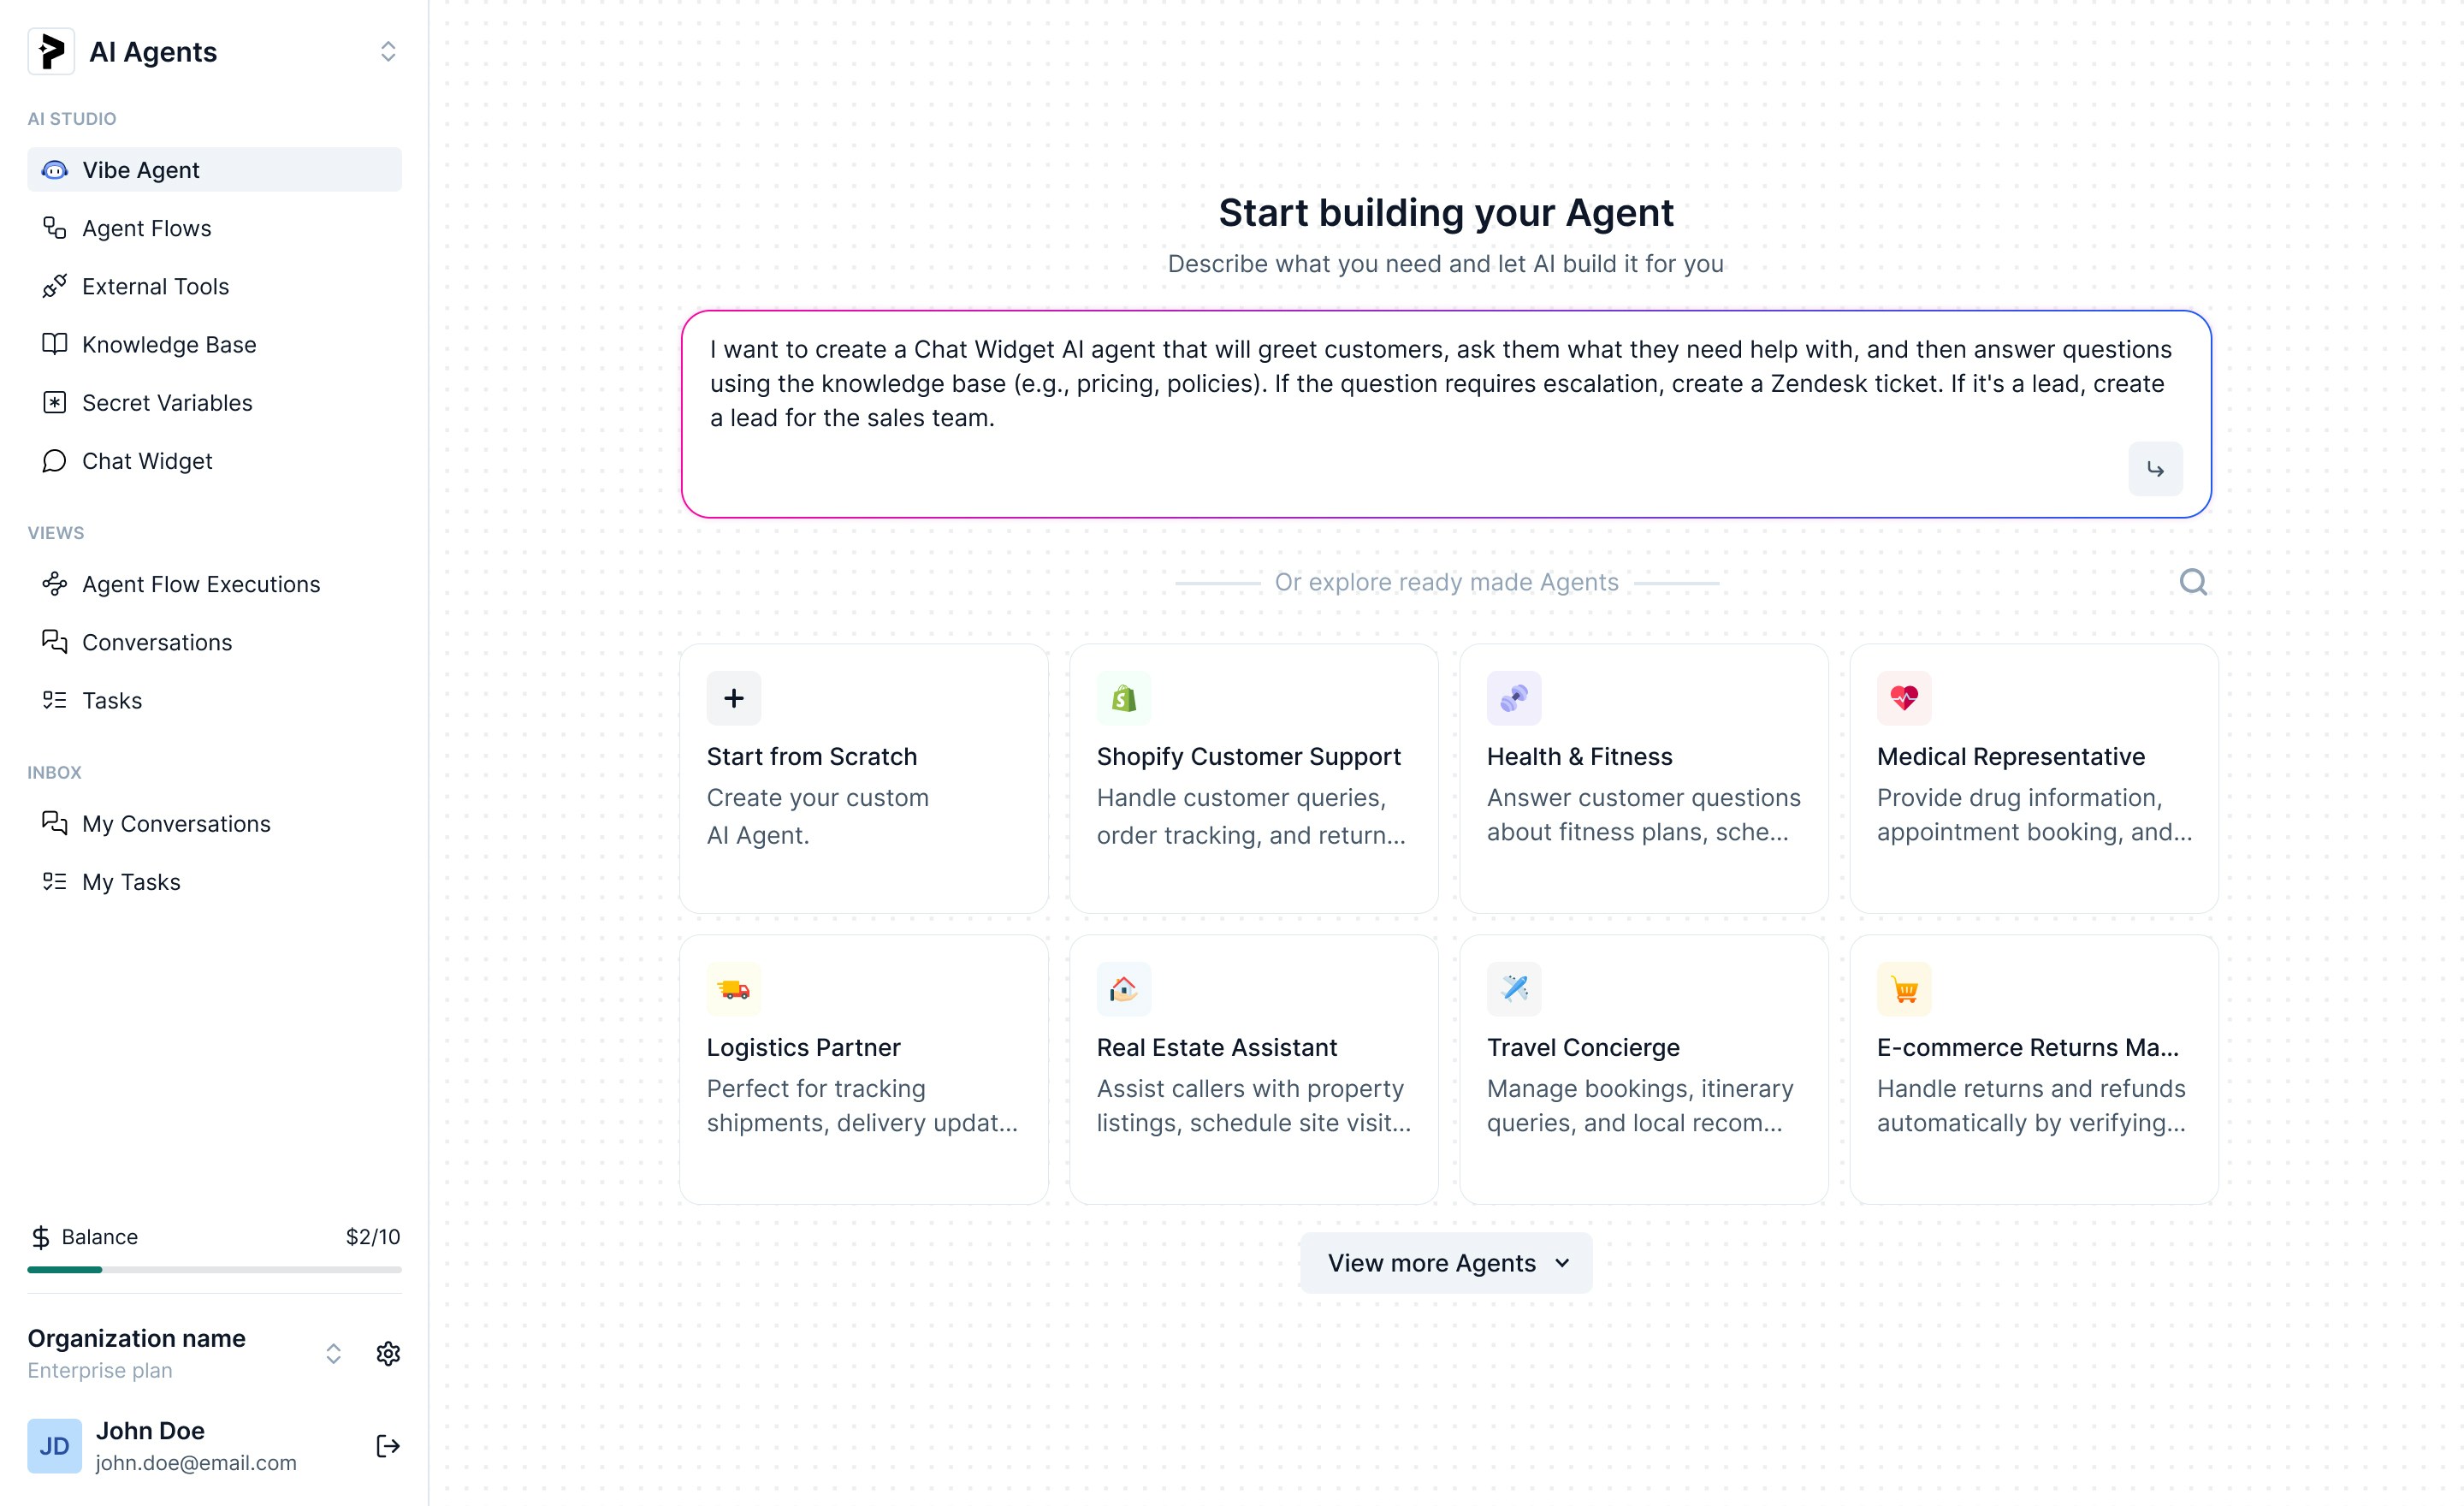
I want to create a Chat Widget AI agent that will greet customers, ask them what they need help with, and then answer questions using the knowledge base (e.g., pricing, policies). If the question requires escalation, create a Zendesk ticket. If it’s a lead, create a lead for the sales team.

4
Let Vibe Agent Work Its Magic
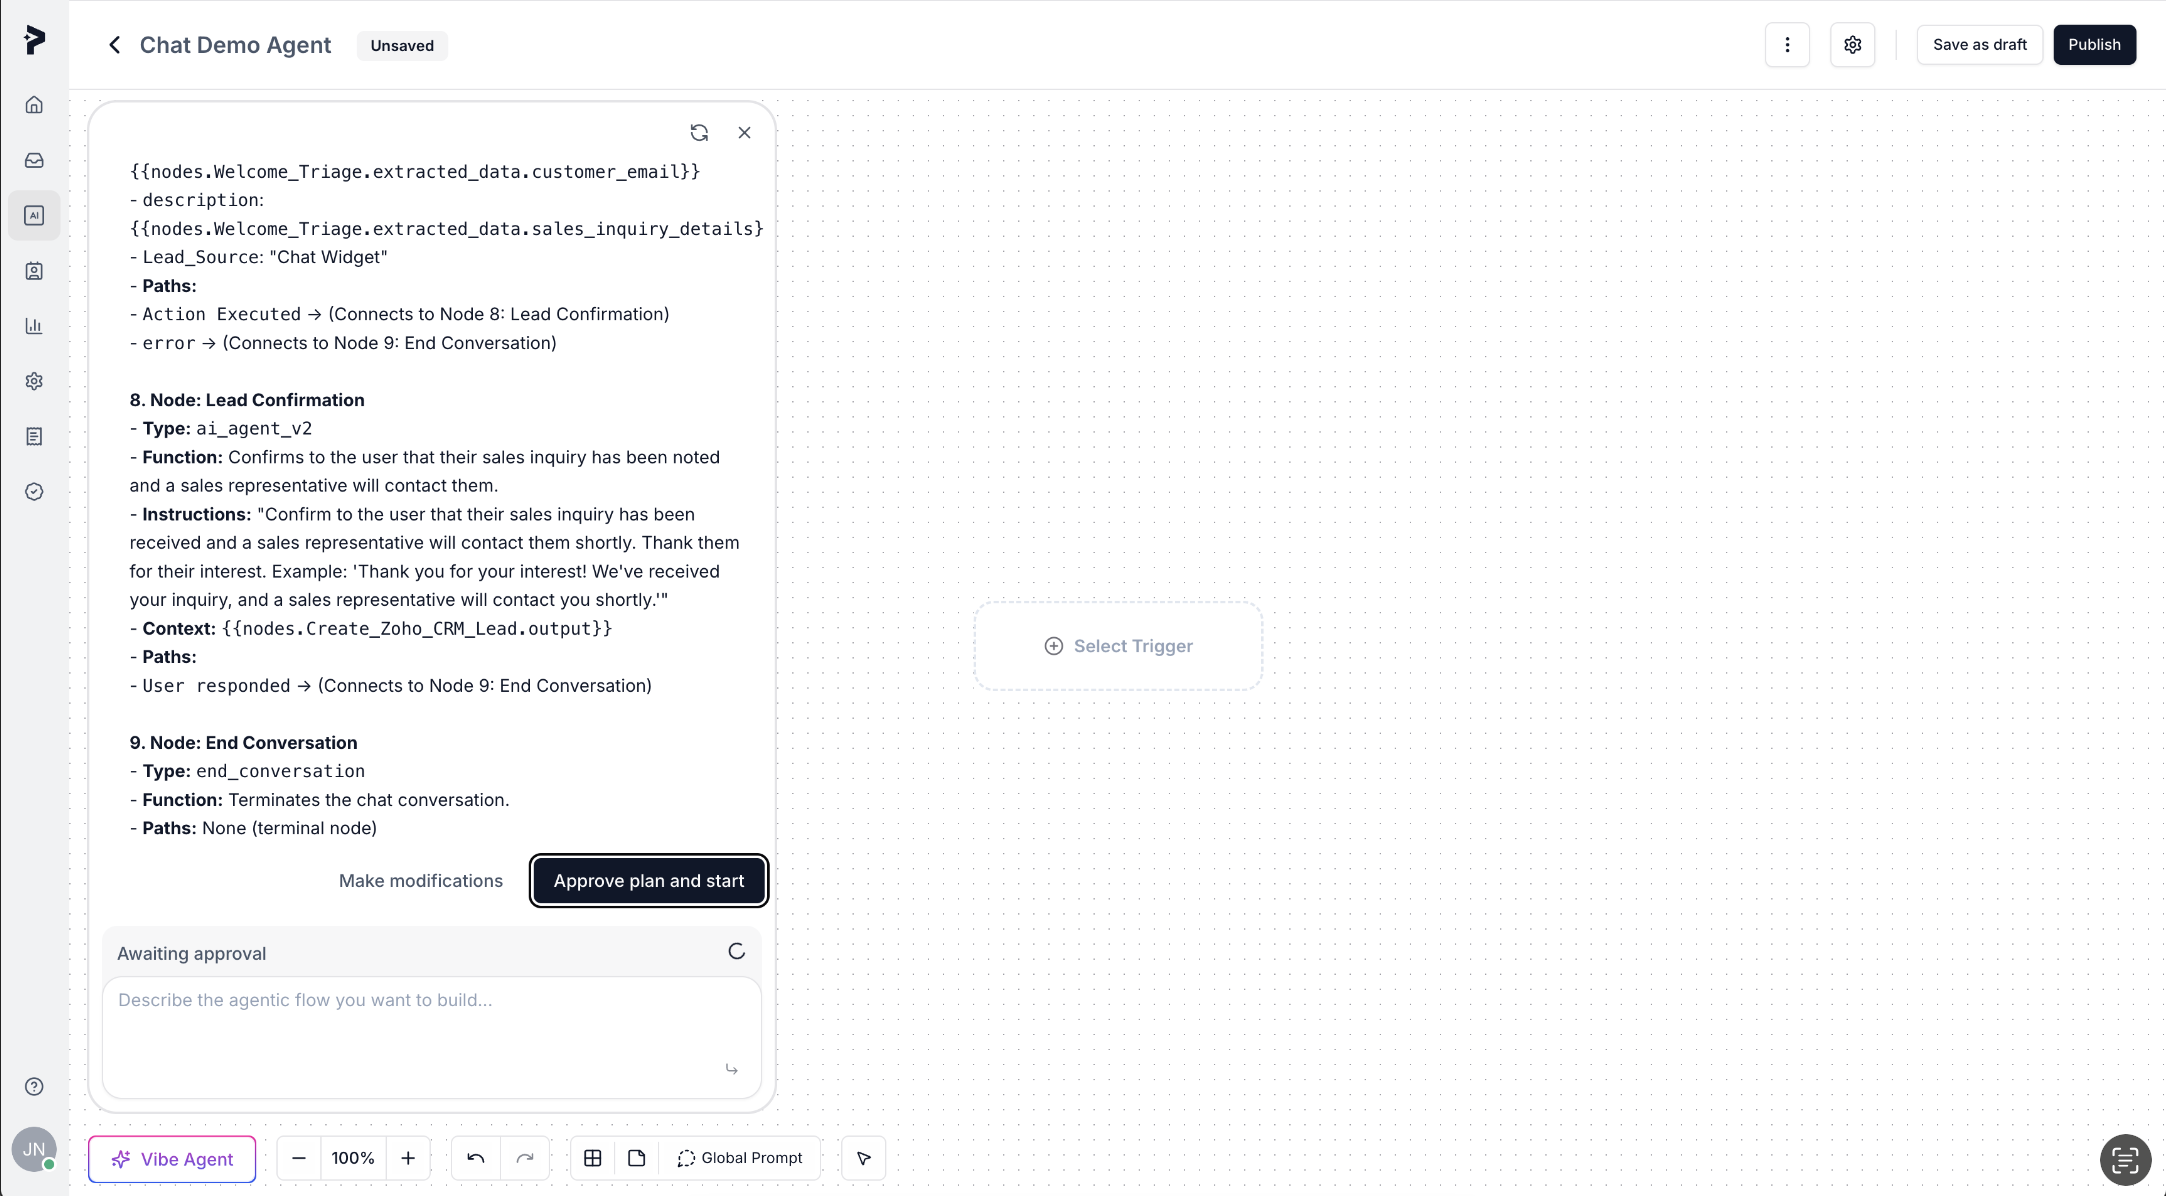
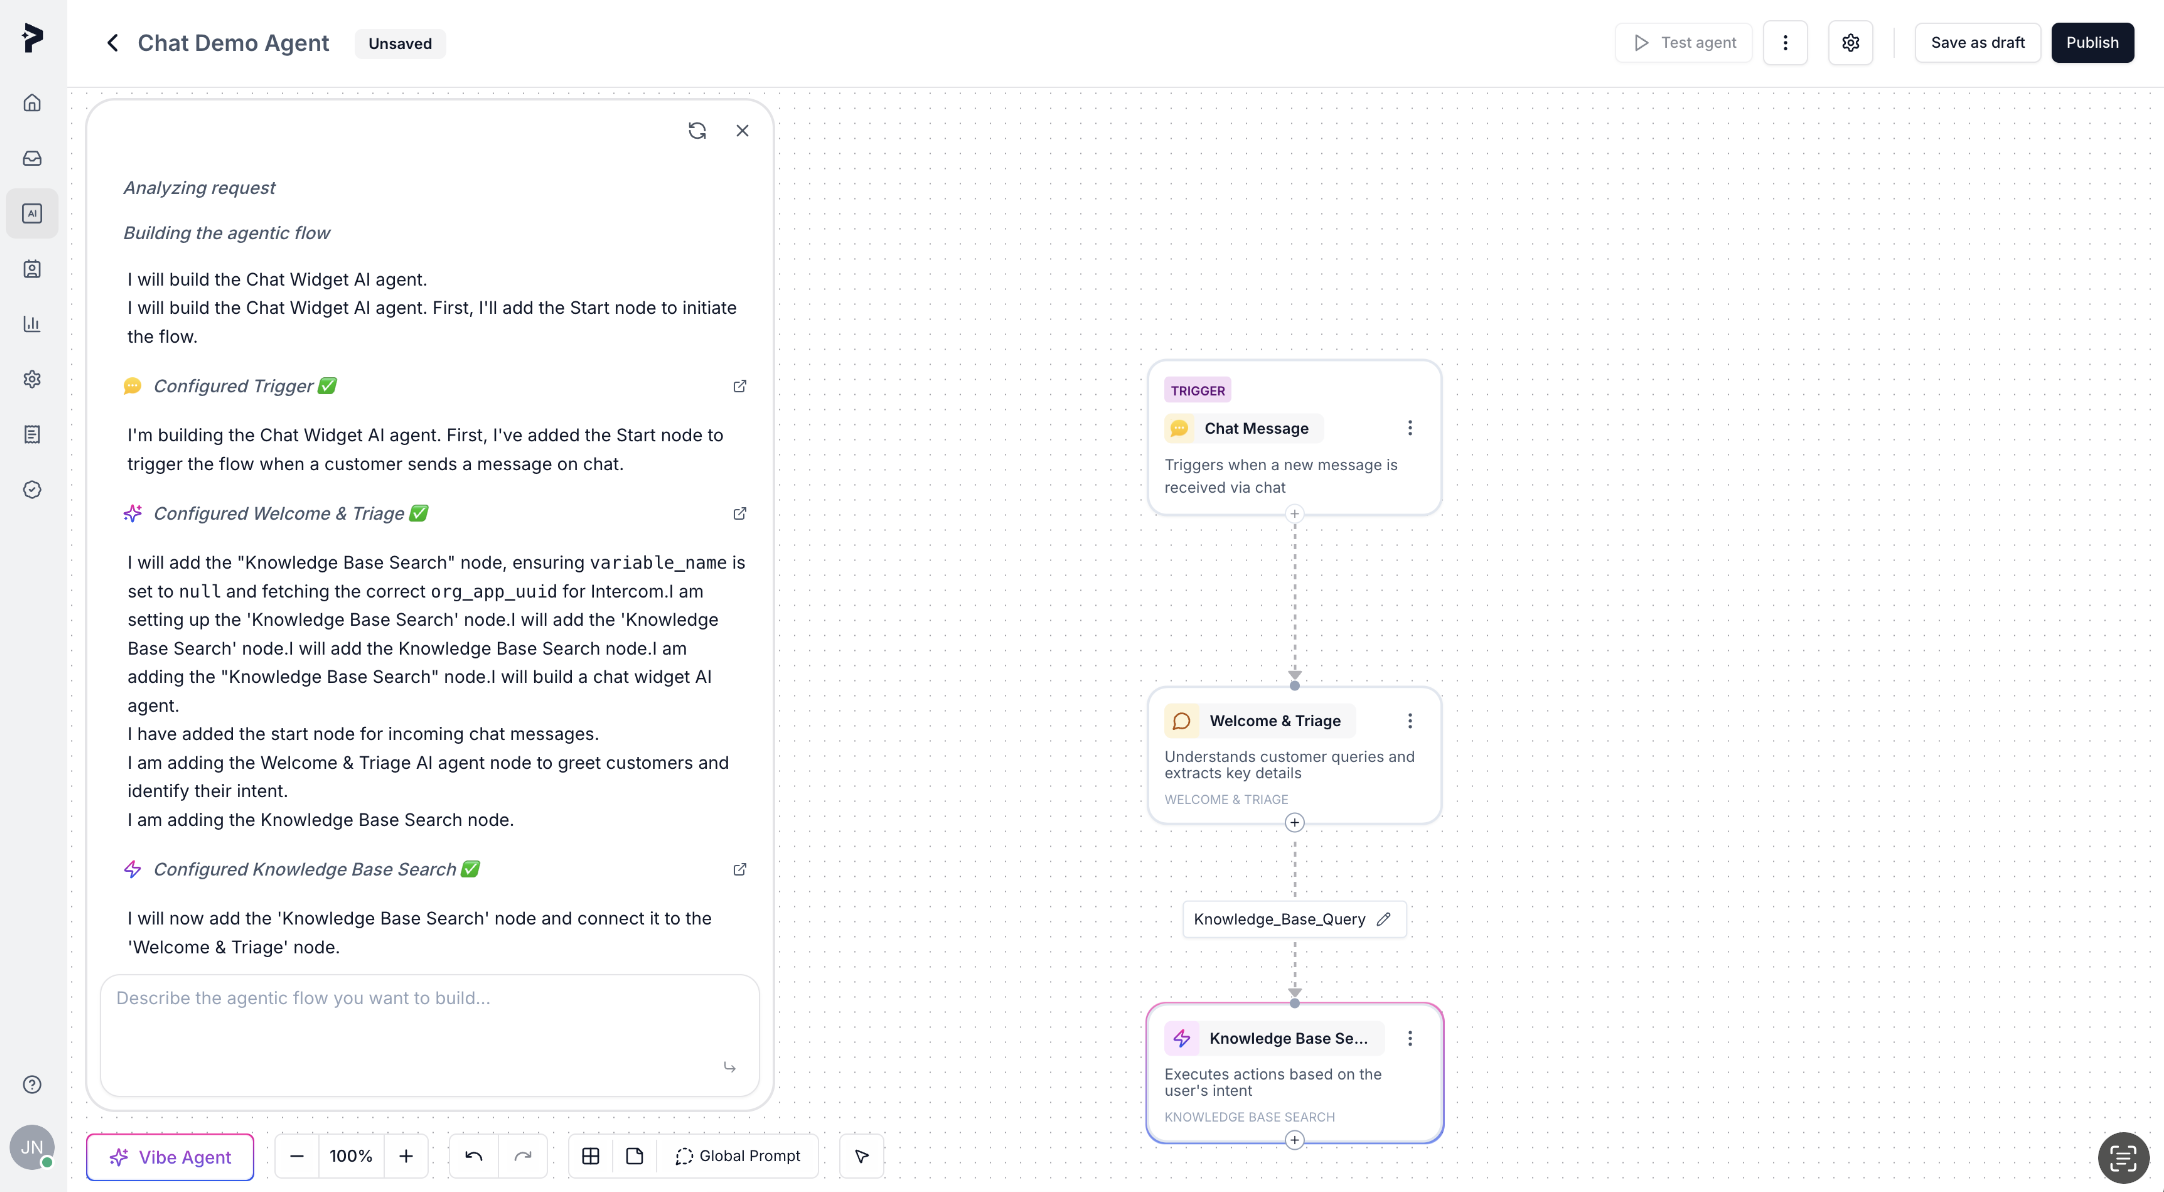
Allow Vibe Agent to place nodes in the agent flow builder. It will automatically generate the flow based on the prompts you’ve provided. Be patient and let it complete the flow. During this phase, you may be asked to authenticate third-party integrations, such as Zendesk.

5
Review the Workflow
Once the Vibe Agent completes the first draft, review the entire workflow:
- Verify that the agent correctly identifies important customer intent and details like their query type and email id (if needed).
- Make sure the paths in the flow align with the customer’s intent (e.g., answering FAQs, creating tickets, or capturing leads).
- Ensure integrations like Zendesk for ticket creation or a CRM for lead capture are correctly set up.
- Check if the knowledge base is properly configured, especially for FAQs such as pricing, access, technical issues, and collaboration inquiries.
- Account for edge cases where the agent may need to escalate the conversation or ask for clarification (e.g., if the user is unsure or provides incomplete information).

6
Make Adjustments Based on New Edge Cases
As you review the flow, you may encounter new edge cases or think of additional scenarios that should be handled. If that happens:
- Ask Vibe Agent to fix the flow or add new functionality.
- Alternatively, adjust the flow manually to handle the new scenarios.
7
Make Changes Yourself (If Necessary)
While Vibe Agent can handle most tasks, sometimes you may want to make minor adjustments yourself. Use our Node Reference Guide to fully understand the available nodes and how to configure them for your specific use case.
8
Test the Agent
Test the agent by starting simple and expanding the complexity gradually. Use the Playground to run initial tests, verifying basic functionalities such as:
- Ensure that the agent is correctly greeting customers and answering basic questions.
- Verify that the agent can retrieve information from the knowledge base.
- Test that the agent creates a support ticket when the query cannot be answered.
- Ensure the agent generates a lead when the query is a potential sales opportunity.
9
Make Fixes if the Agent Isn’t Performing as Expected
If you find that the agent isn’t performing as expected:
- Provide detailed feedback to Vibe Agent and let it update the flow accordingly.
- Alternatively, make the changes manually in the flow builder.
10
Deploy the Agent
Once the agent is functioning as expected, deploy it on your website’s chat widget:
- Create a Chat Application: Go to Settings > Chat and create a new chat application.
- Configure the Chat Application: Set up the domain, branding, and any other relevant details.
- Select the Chat Agent: Link the agent flow you’ve created to the chat application.